What it really takes to create a new soap variant in the UK
Share
People tend to think, creating a new soap scent (variant) is simple, “oh, she's just mixing together some new nice smelling things and the job's done.”
Well… not really... In the real world, the process is way more complicated and multi-faceted, plus of course way more fun than just "mixing some stuff."
Here’s how I do it...
Step 1. Planning
I usually have the heart (middle) note in mind at this stage. Then I grab my favourite essential oil book and start picking the matching top and base notes for it. I make a list of possible options.
Step 2. Blending
I use a pipette to drop my essential oils onto tissue paper. With this method, I can easily control the amount of oils used for testing. For example, if I want Orange to be the main scent in my final product, then I can add more drops of this oil to the tissue and less of the others. The tissue allows me to inhale deeply without it being too strong and I can then fold the tissue into half/quarters, which slightly fades the scent of the freshly dropped essential oils.
Step 3. Designing
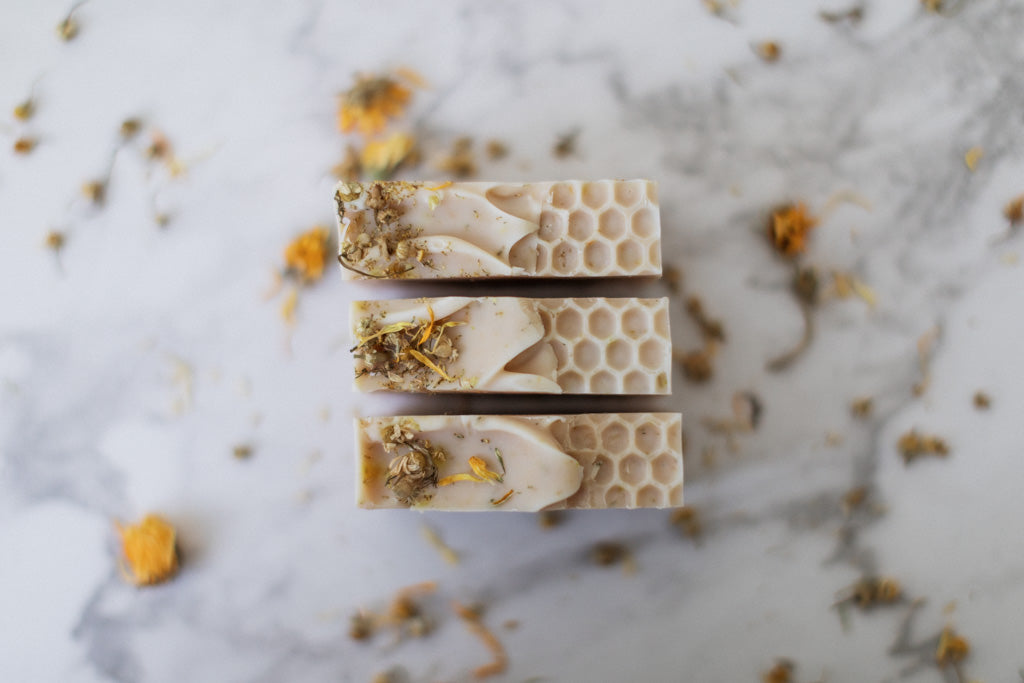
When I have got my selection of chosen essential oils, I like to pair them with the matching herbs and clays. This designing part is very exciting. I love imagining the final look of my soaps and like to play around with some ideas, such as clays as colours & swirls, or added plant bits for texture. The toppings are also a very fun part to choose, I like to match these with the other natural ingredients used. Most of my bars are simple, however, I like to change their design from time to time, without having to change the ingredients.
Step 4. Researching
Once I have all the natural additives in mind, I like to do my research and see if any of my choices are limited, critical for cold process soap production. I like to know how they are allowed, how they react with the batter and what their properties and benefits are to the skin. I simply like to learn all about them before the next step.
Step 5. Checking with my Chemist
Once I have got the final blend and choice of additives, I like to double-check with my chemist to see if they're 100% safe to use and if there are any limits or restrictions in place for cold process soaps. I like to work together with my chemist to be sure that I’m only using safe and suitable ingredients.
Step 6. Test batch
As soon as I have the ingredients confirmed by my Chemist, I start making the test batch which is probably the most exciting part of all. I already know many essential oils by strength, quality and behaviour so to be honest, I was always lucky with my first batch of each variant, they were all perfect to go. Since the base formula is the same in all of my soaps, I just have to play around with the natural additives, such as essential oils, clays and any botanicals.
Step 7. Safety Assessment
I fill out the input form and then send it off to my Chemist. This can take 1 to 2 months to receive back, which at least gives the soap just the right amount of time to cure. It costs money each time a new variant is added to my MSDS.
Step 8. Designing the label
In the meantime, I can think about a unique name for the soap, as well as design its label. I do this on Photoshop which gives me the full flexibility needed for this job. I can finalise the exact ingredients list once I’ve got the report back from the Chemist.
Step 9. Photography
Once the front of the label is ready, I print off a sheet to use for photos. I take professional images of the product (with and without the label) to use on my website and social media platforms.
Step 10. Legalisation
Once I receive the report from the Chemist, I legally have to notify both the British and the European Cosmetic Portal before I put the product out to market. I can do this online and it takes about half an hour each (except when I can’t find my login details and have to spend an extra hour trying to recover my account, ha!)
Step 11. Adding it to the shop
When the soap is legally ready to go, I add it to the webshop. I need to think about the right photos as well as correct descriptions and accurate info of the product, including qualities of key ingredients, INCI ingredients list, measurements, etc…
Step 12. Sharing it away
Here comes the last part, the Instagram posts, stories and reels to let you amazing people know about my brand new product. I might have already shared some teasers, but this time it’s ready to buy!
As you can see, creating a new cosmetic product for the UK and EU market is not just mixing and matching…This whole process is a challenge and you have to persevere with it, but it is worth it in the long run to create amazing skin products. We love to see the positive side of it; with this procedure, our customers can always expect fully controlled and thoughtfully made products that are 100% good for the skin and provide with the best quality possible.
Did I miss something from the list above?
Any questions? Pop your comment below x
Cheers,
Helga


