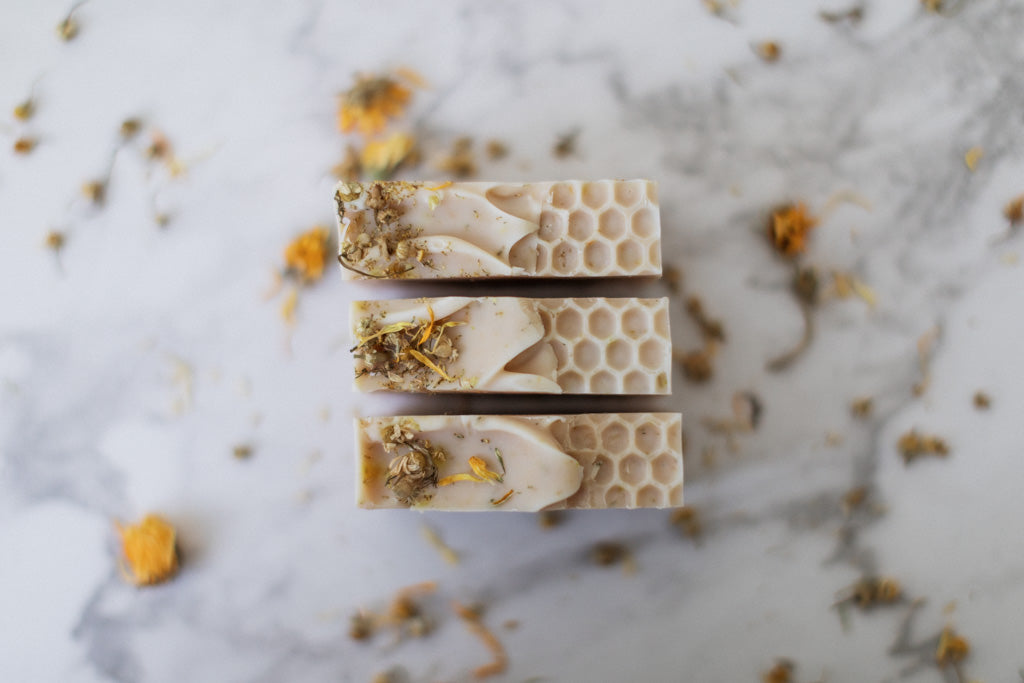
Beautiful product photos without the fancy equipment
Share
How do you do your amazing photos?
I get this question all the time. Being a professional photographer, taking pictures of my products is one of my favourite parts of running my small soap business ♡

The good thing is that you don’t have to be a pro or own expensive equipment to be able to take beautiful images.
I own both pricey and cheap cameras and lens and I can achieve pretty much similar results with both. I believe it takes practice and knowledge, but your photos depend less on the actual equipment you use.

Here’s an example of a great start-up gear for product photography:
Camera: I prefer Canon, this model is a great choice for beginners.
Lens: I prefer fixed, 50mm lens with low aperture capability. This one is an excellent option.
If you don’t want to invest in a camera, you can use your smartphone on portrait setting.
Lighting booster: Diffuser box (for beautiful soft lighting)
Backdrop (tiles, textile, wooden crate, etc…)
This pretty much is it, you don’t need expensive lighting or super flashes to get amazing results. I use only natural light, the diffuser box helps to even out shades and soften any harsh sunlight.

How I take my photos?
- Light is key! I make sure I work from a bright room (or outside in a gazebo!) to get the most out of my camera.
- Using some simple props, I like to prepare different setups for my products. As a soaper, I use dried botanicals, soap accessories, crates, stands, etc. to cheer up any images and make them look pretty.
- I like to shoot at low aperture for shallow depth of field (blurry background). If you’re using your phone, make sure it’s on ‘portrait’ mode so it will allow you to get the blur, when you focused on your object properly. Move around, get further and closer until you see the picture you like, then shoot.
- I like to make sure the focus point is exactly where I want it to be before I fire my camera.
- I prefer to shoot from more angles so I have variations to choose from.
- I do both landscape and portrait orientation of each setup, to have images for my website, press and any social media surfaces.
Editing
I edit my images in Lightroom. I use my own presets when I take photos with my smartphone (iPhone 12 pro), mostly using these for Insta Stories and Reels videos.
For most photos you see across my website and Instagram, I use the amazing professional presets from Archipelago.

Useful tips
- Always clean your lenses before you start the work. Dirty lenses will result in photos that aren't sharp.
- Practice with different settings until you find the one you're comfortable with.
- Try several distances, shoot from closer and further to find out which settings are the best for your needs. Your camera closer to your object will result in blurrier background.
- Don’t be afraid of what you do, feel free to turn around your whole setup to find the perfect lighting.
- If you had to use artificial light, you can remove the yellow tones by adjusting white balance in Lightroom (or in phone settings).
Want to learn more?
I’m sharing all my gear, camera settings, editing and a FREE preset in my eBook.
Plus as a bonus, I've added my tips for smartphone photography AND SO MUCH MORE!


