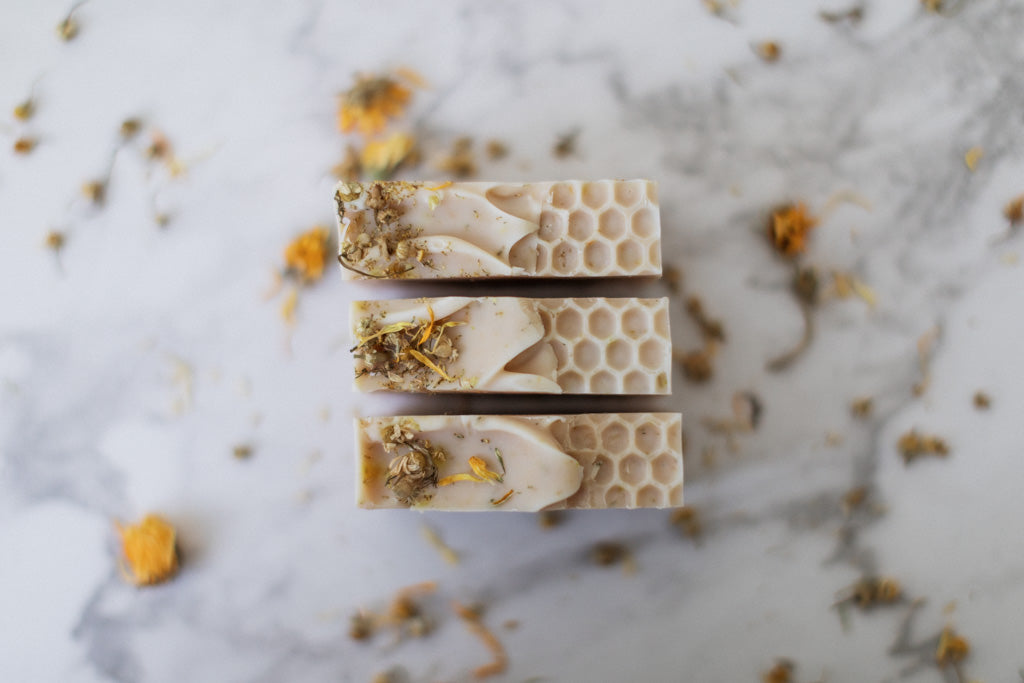
Struggling with Swirls? You're not alone!
Share
Swirling is an art, but there's a technique behind the beauty. A fascinating method you can learn!
Let’s be honest—soap swirls are seductive.
You see them on Instagram, on Pinterest, in those perfectly polished product photos and think, “Right. I’m doing that.” You line your mould, pour your colours, grab a skewer… and end up with something that looks more scrambled egg than swirling marble.
You’re not alone.
Soap swirls are the ultimate illusion. They look spontaneous and easy—but they’re anything but. Behind every stunning swirl is careful planning, controlled trace, and the kind of patience most of us abandon after five minutes of stick blending.

Why does swirling feel so hard?
Even when you’re doing everything “right”
The biggest culprit? Timing.
Swirls depend on the batter being just right. Too thin and your colours mix like soup. Too thick and you’re basically spooning in porridge. But even with these consistencies you can create something amazing, something different and unique each time.
Then comes the pour technique—in-the-pot, drop swirl, hanger swirl, Taiwan swirl… they all sound (and look) fancy, but if you haven’t practised them or don’t know when to stop blending, they turn into a muddy mess real quick.
Add in fragrance acceleration, natural colourants that thicken things up, or a stick blender that’s just a bit too enthusiastic—and well, your dreamy swirl becomes a soap blob with commitment issues.

But here’s the good news: Swirl success is 90% planning
If you can learn to control your trace and pour with intention, your swirls will show up exactly the way you imagined them.
❌ You don’t need special moulds.
❌ You don’t need six colours and glitter.
✔️ You just need the right batter texture, the right pour style, and a good understanding of how your ingredients behave.
Because swirling isn’t about being artistic—it’s about being precise at the right moment.
And the truth is, most of our swirls at Chalke Valley Soaps are incredibly simple and easy to make. We’re not really into the super polished or geometric styles like Taiwanese swirls or intricate multi-layered patterns. They look impressive, sure—but they often feel a bit too staged for our taste.
We prefer designs that flow more naturally. Swirls that look like they happened—like the colours moved together on their own, guided by the ingredients, not forced into a pattern. There’s something timeless and earthy about that.
Once you understand trace and get to know your ingredients inside out, creating beautiful, organic swirls becomes second nature. It’s not about being artistic—it’s about knowing when to pour, how to move, and trusting the process. With the right technique, consistency, and a bit of practice, even the simplest swirl can look like a work of art.

That’s exactly what we teach inside our soap making course (alongside much more!)
We walk you through swirl timing step by step: how to keep your batter fluid, when to divide your colours, how to avoid false trace, and what each of our swirl style actually requires in terms of trace and tool technique.
You’ll learn how to prep your workspace so you’re not scrambling mid-pour, how to keep natural colourants from thickening your mix too early, and how to adjust your fragrance choice so it works with your swirl—not against it.

We even cover how trace speed is affected by fatty acid profiles, temperatures, and stick blending duration—because once you know why your batter behaves the way it does, your swirls become way more predictable.
No more swirl envy.
No more “I guess it’s rustic now.”
Just confident, gorgeous, repeatable designs—on purpose.
Because swirling may be an art…
But once you learn the science, it gets a whole lot easier.
ENROL NOW
See you there!
Hugs and bubbles,


